· Irrigation Specialist Team · Getting Started · 4 min read
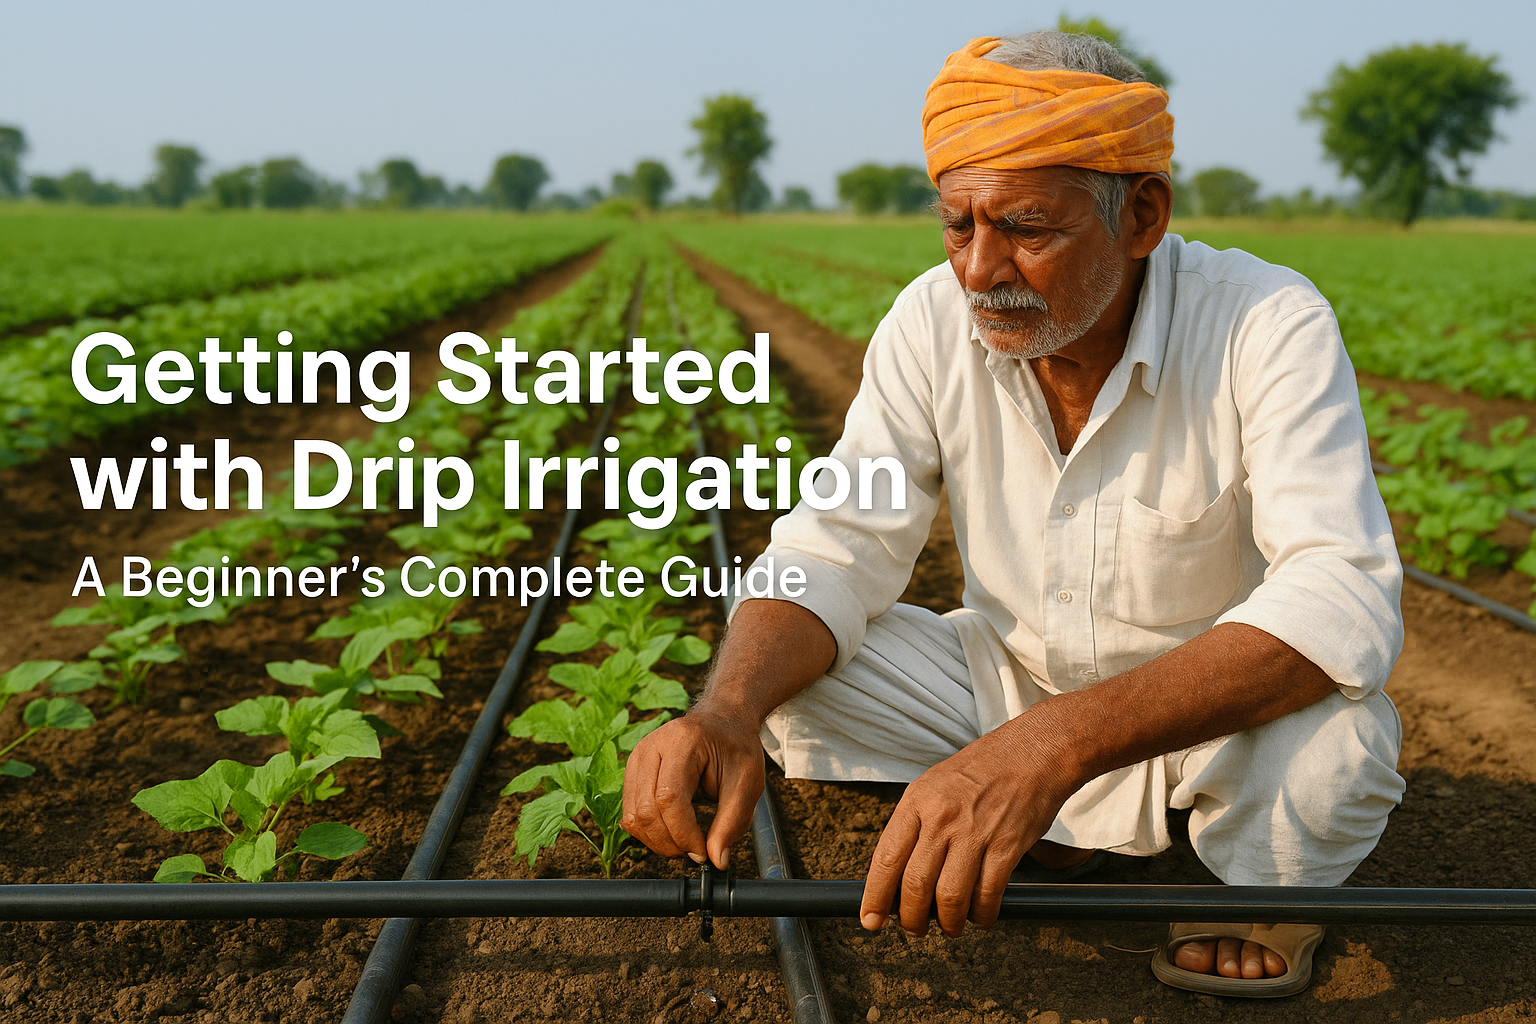
Getting Started with Drip Irrigation - A Beginner's Complete Guide
Learn how to set up your first drip irrigation system with this comprehensive guide covering planning, installation, and maintenance.
Your Journey to Efficient Water Management Starts Here
Welcome to the world of precision irrigation! Whether you’re a small-scale farmer, a commercial grower, or someone looking to optimize water usage in your agricultural operations, this guide will walk you through everything you need to know about setting up your first drip irrigation system.
Why Choose Drip Irrigation?
Drip irrigation isn’t just a trend—it’s a game-changer for modern agriculture. Here’s why:
Water Efficiency
- Uses 30-50% less water than traditional methods
- Delivers water directly to root zones
- Eliminates water loss from evaporation and runoff
Improved Crop Quality
- Consistent moisture levels
- Reduced disease pressure
- Better nutrient uptake
- Higher yields
Cost Savings
- Lower water bills
- Reduced labor costs
- Decreased fertilizer usage
- Energy savings
Planning Your Drip System
Step 1: Assess Your Requirements
Crop Analysis:
- What crops are you growing?
- What are their water requirements?
- What’s the planting pattern?
Site Evaluation:
- Field size and shape
- Soil type and drainage
- Slope and topography
- Water source location
Water Source Assessment:
- Available flow rate
- Water quality
- Pressure availability
- Seasonal variations
Step 2: System Design
Main Components:
- Water Source - Well, tank, or municipal supply
- Filtration System - Screen, sand, or disc filters
- Pressure Regulation - Pressure reducers and regulators
- Main Lines - HDPE pipes for water distribution
- Sub-main Lines - Smaller diameter distribution pipes
- Lateral Lines - Drip lines with emitters
- Control Valves - Manual or automatic controls
Installation Process
Phase 1: Infrastructure Setup
Main Line Installation:
1. Excavate trenches for main HDPE pipes
2. Install pipes with proper slope (1-2%)
3. Connect to water source with appropriate fittings
4. Install filtration system at the head
5. Add pressure regulation equipment
Distribution Network:
1. Lay sub-main lines to field sections
2. Install control valves for each zone
3. Connect lateral line take-offs
4. Ensure proper spacing between lines
Phase 2: Lateral Line Setup
Drip Line Installation:
- Calculate emitter spacing based on crop requirements
- Install drip lines parallel to crop rows
- Secure lines to prevent movement
- Connect to sub-main lines with appropriate fittings
Emitter Selection:
- Low Flow (1-2 LPH): For closely spaced crops
- Medium Flow (2-4 LPH): For vegetables and field crops
- High Flow (4-8 LPH): For fruit trees and widely spaced plants
Phase 3: System Testing
Pressure Testing:
- Fill system gradually
- Check for leaks at all connections
- Verify pressure at different points
- Test emitter uniformity
Flow Rate Verification:
- Measure flow from sample emitters
- Calculate distribution uniformity
- Adjust pressure if necessary
- Document system performance
Essential Components Guide
HDPE Pipes and Fittings
Pipe Selection:
- Main Lines: 75mm to 200mm diameter
- Sub-mains: 32mm to 75mm diameter
- Laterals: 16mm to 32mm diameter
Fitting Types:
- Compression fittings for permanent connections
- Quick-connect fittings for seasonal changes
- Tee fittings for branch connections
- End caps for line termination
Filtration Systems
Screen Filters:
- 120-200 mesh for most applications
- Easy to clean and maintain
- Cost-effective for clean water sources
Disc Filters:
- Superior filtration for problematic water
- Self-cleaning options available
- Longer service life
Pressure Regulation
Pressure Compensating Emitters:
- Maintain consistent flow rates
- Work across varying pressures
- Ensure uniform water distribution
Pressure Regulators:
- Maintain optimal system pressure
- Protect emitters from damage
- Improve system longevity
Maintenance Schedule
Daily Checks
- Visual inspection of system operation
- Check pressure gauges
- Observe emitter performance
- Monitor filter pressure differential
Weekly Maintenance
- Clean screen filters
- Check for clogged emitters
- Inspect connections for leaks
- Verify timer operations
Monthly Tasks
- Flush lateral lines
- Clean disc filters thoroughly
- Check system pressure
- Inspect HDPE pipes for damage
Seasonal Maintenance
- Complete system flush
- Replace worn emitters
- Service filtration equipment
- Update irrigation scheduling
Troubleshooting Common Issues
Low Pressure Problems
Symptoms: Weak emitter flow, uneven distribution
Solutions:
- Check filter status
- Inspect for leaks
- Verify pump operation
- Clean clogged emitters
Uneven Water Distribution
Symptoms: Some plants overwatered, others dry
Solutions:
- Check emitter uniformity
- Verify pressure regulation
- Inspect for partially blocked emitters
- Adjust system pressure
High Maintenance Requirements
Symptoms: Frequent clogging, filter changes
Solutions:
- Improve water filtration
- Consider water treatment
- Use self-flushing emitters
- Regular preventive maintenance
Cost Considerations
Initial Investment
- Small Scale (1 acre): ₹50,000 - ₹75,000
- Medium Scale (5 acres): ₹2,00,000 - ₹3,50,000
- Large Scale (10+ acres): ₹5,00,000 - ₹10,00,000+
Operating Costs
- Electricity/fuel for pumping
- Filter replacements
- Emitter maintenance
- System repairs
Return on Investment
- Water savings: 30-50%
- Yield increase: 15-25%
- Labor reduction: 40-60%
- Payback period: 2-4 years
Getting Professional Help
While DIY installation is possible for small systems, consider professional installation for:
- Systems larger than 5 acres
- Complex topography
- Multiple crop types
- Automated control requirements
What to Look for in an Installer
- Experience with similar projects
- Knowledge of local conditions
- Proper licensing and insurance
- Post-installation support
- Training programs
Next Steps
Ready to transform your irrigation? Here’s your action plan:
- Assess Your Needs - Use our online calculator
- Get a Quote - Contact our technical team
- Plan Installation - Schedule site visit
- Start Small - Consider a pilot project
- Expand Gradually - Scale up based on results
Conclusion
Drip irrigation represents more than just a watering system—it’s an investment in sustainable agriculture and water conservation. With proper planning, quality components, and regular maintenance, your drip system will provide years of efficient, reliable service while improving your crop yields and reducing operational costs.
Remember, every successful irrigation project starts with understanding your specific needs and choosing the right components for your situation. Our team of experts is here to guide you through every step of the process.
Ready to start your drip irrigation journey? Contact our technical specialists for a free consultation and personalized system design. We’re here to help you achieve irrigation success!